

Prerequisites
- Existing Qovery cluster
- Dedicated project and environment ready
Installation
1
Add JupyterHub Helm Repository
- Navigate to your environment in Qovery Console
- Add a new Helm repository:
- Repository name:
JupyterHub - Kind:
HTTPS - URL:
https://hub.jupyter.org/helm-chart/
- Repository name:
2
Create JupyterHub Service
Create a new Helm service with the following configuration:Basic Settings:
- Application name:
JupyterHub - Chart name:
jupyterhub - Version:
3.3.7 - Allow cluster-wide resources: Enabled
3
Add Network Configuration
Configure the service port:
- Service name:
jupyterhub-proxy-public - Service port:
80(HTTP) - External port:
443 - Port name:
jupyterhub-proxy-public-p80
This configuration exposes JupyterHub’s proxy service externally through HTTPS.
4
Deploy Chart
Click the Play button to deploy JupyterHub: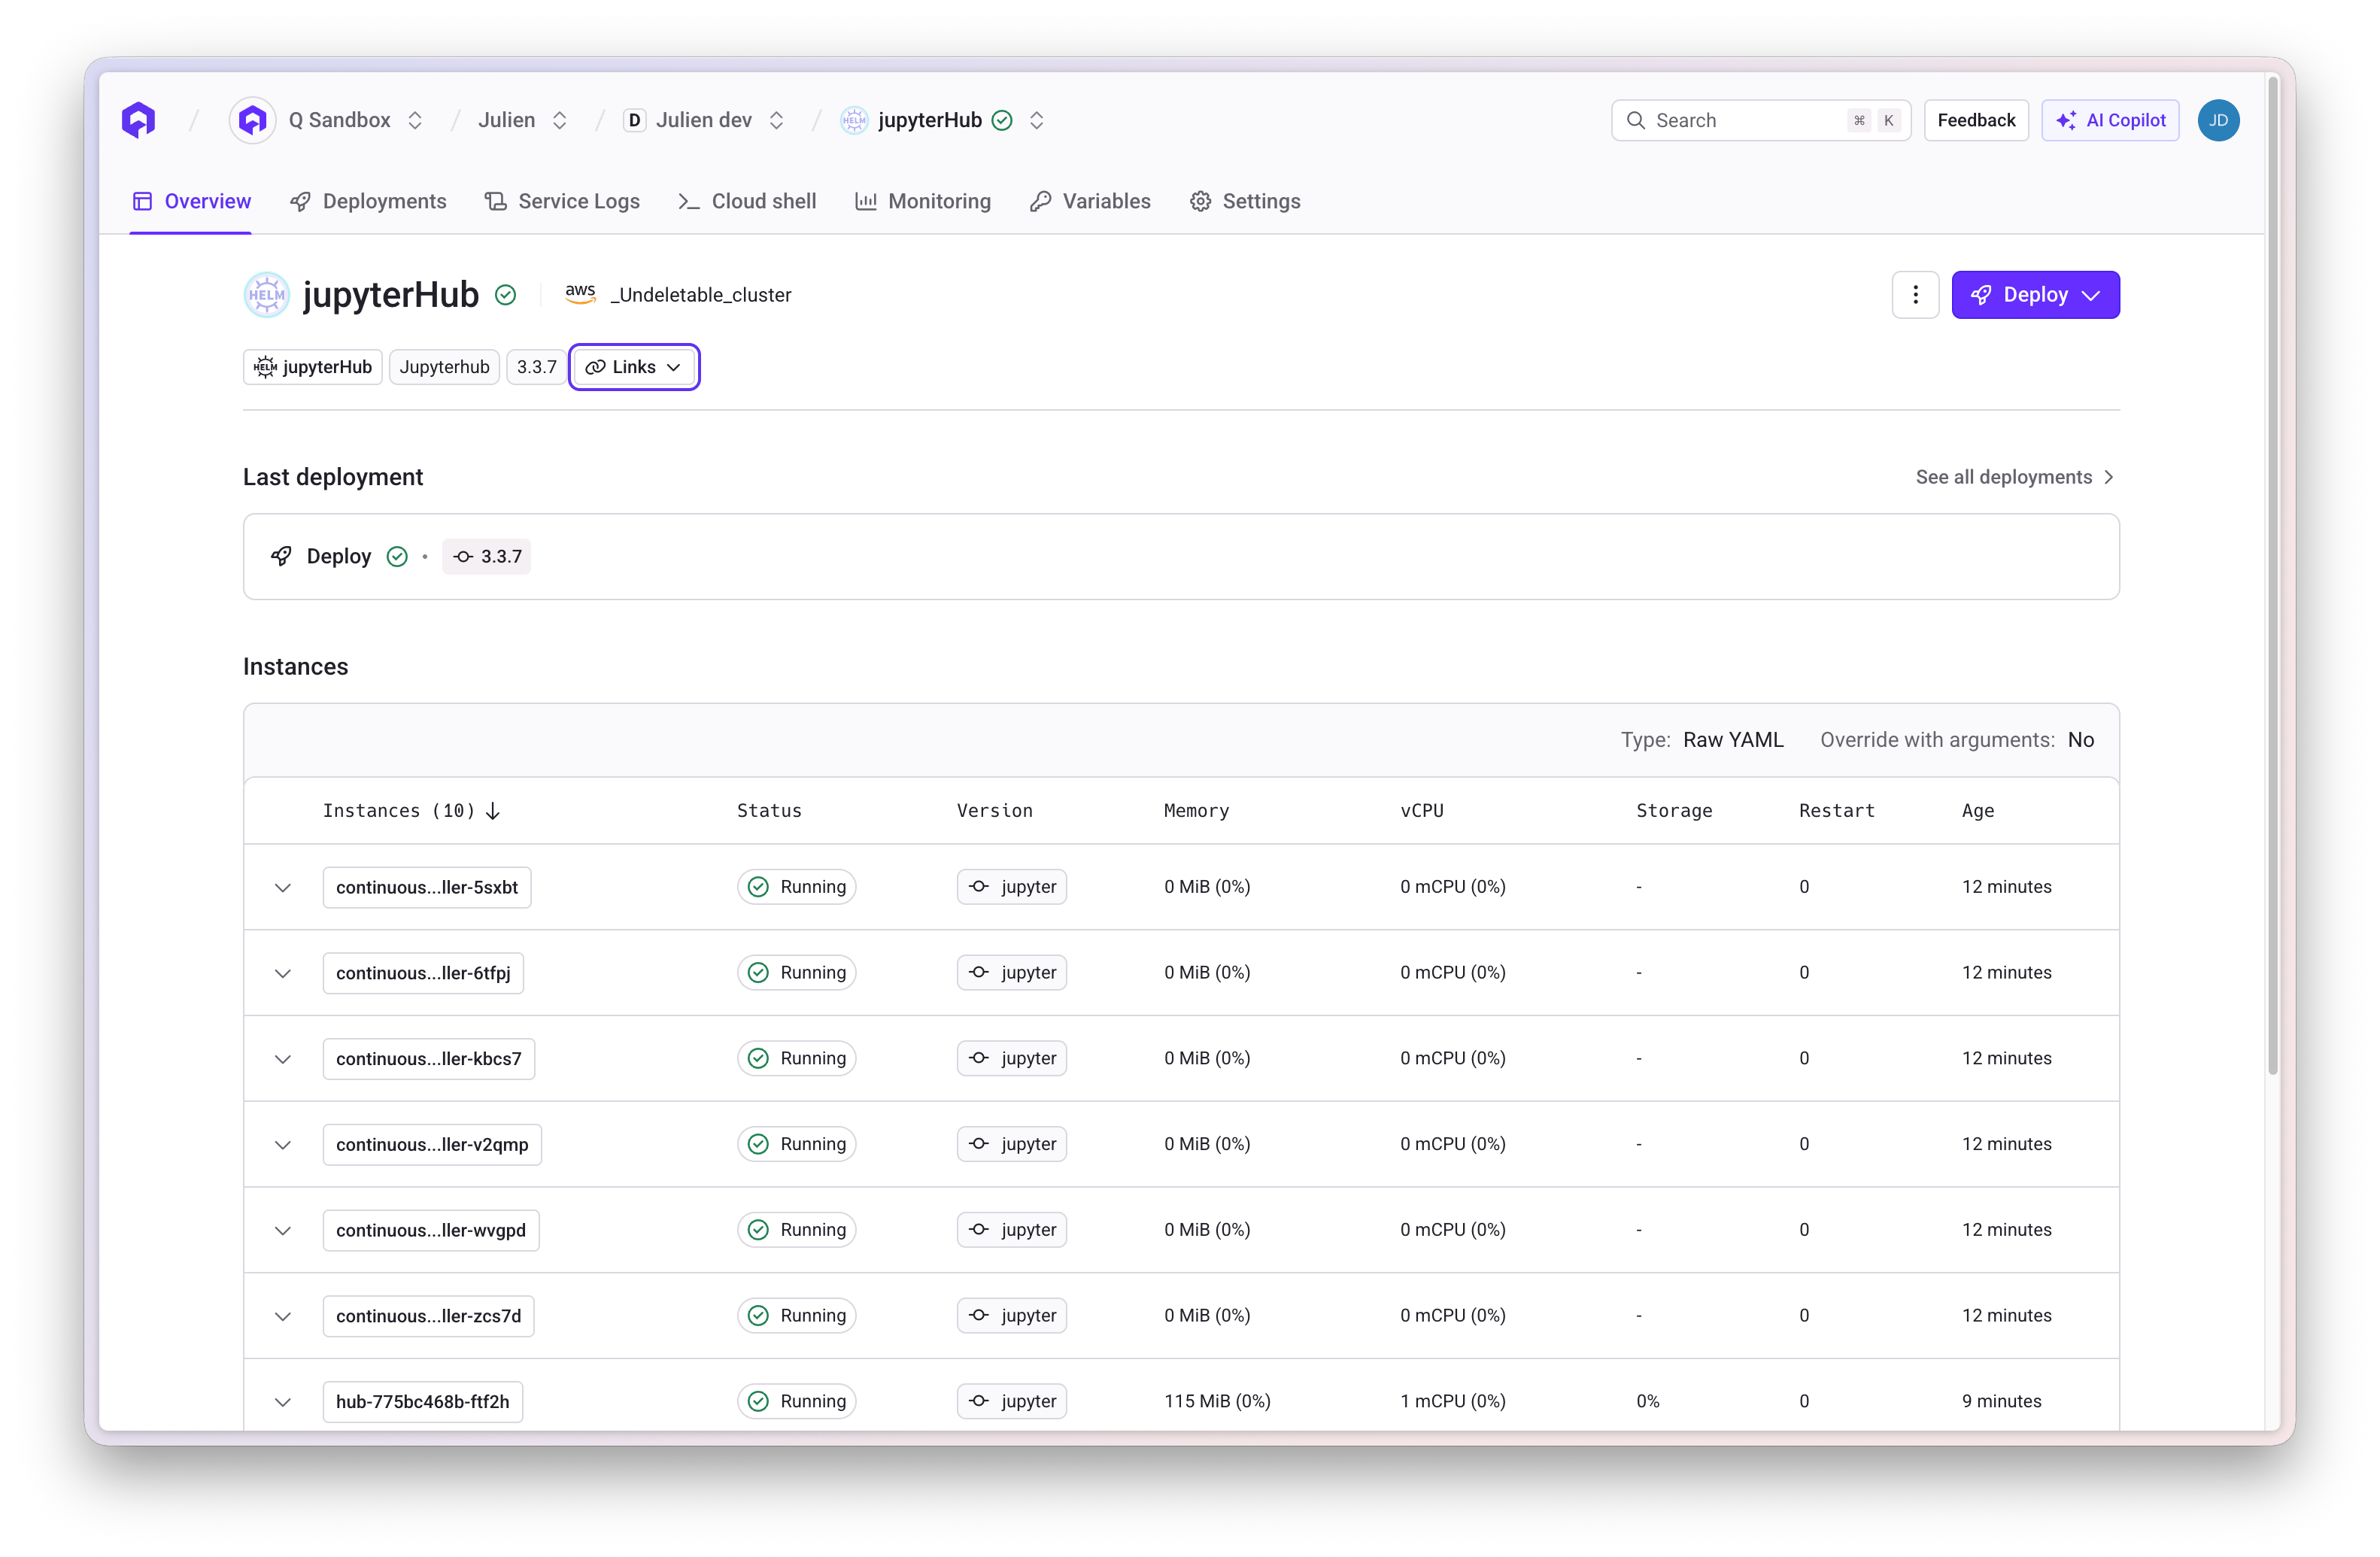
5
Access JupyterHub
Once deployed, access JupyterHub via the Link button in the Qovery interface: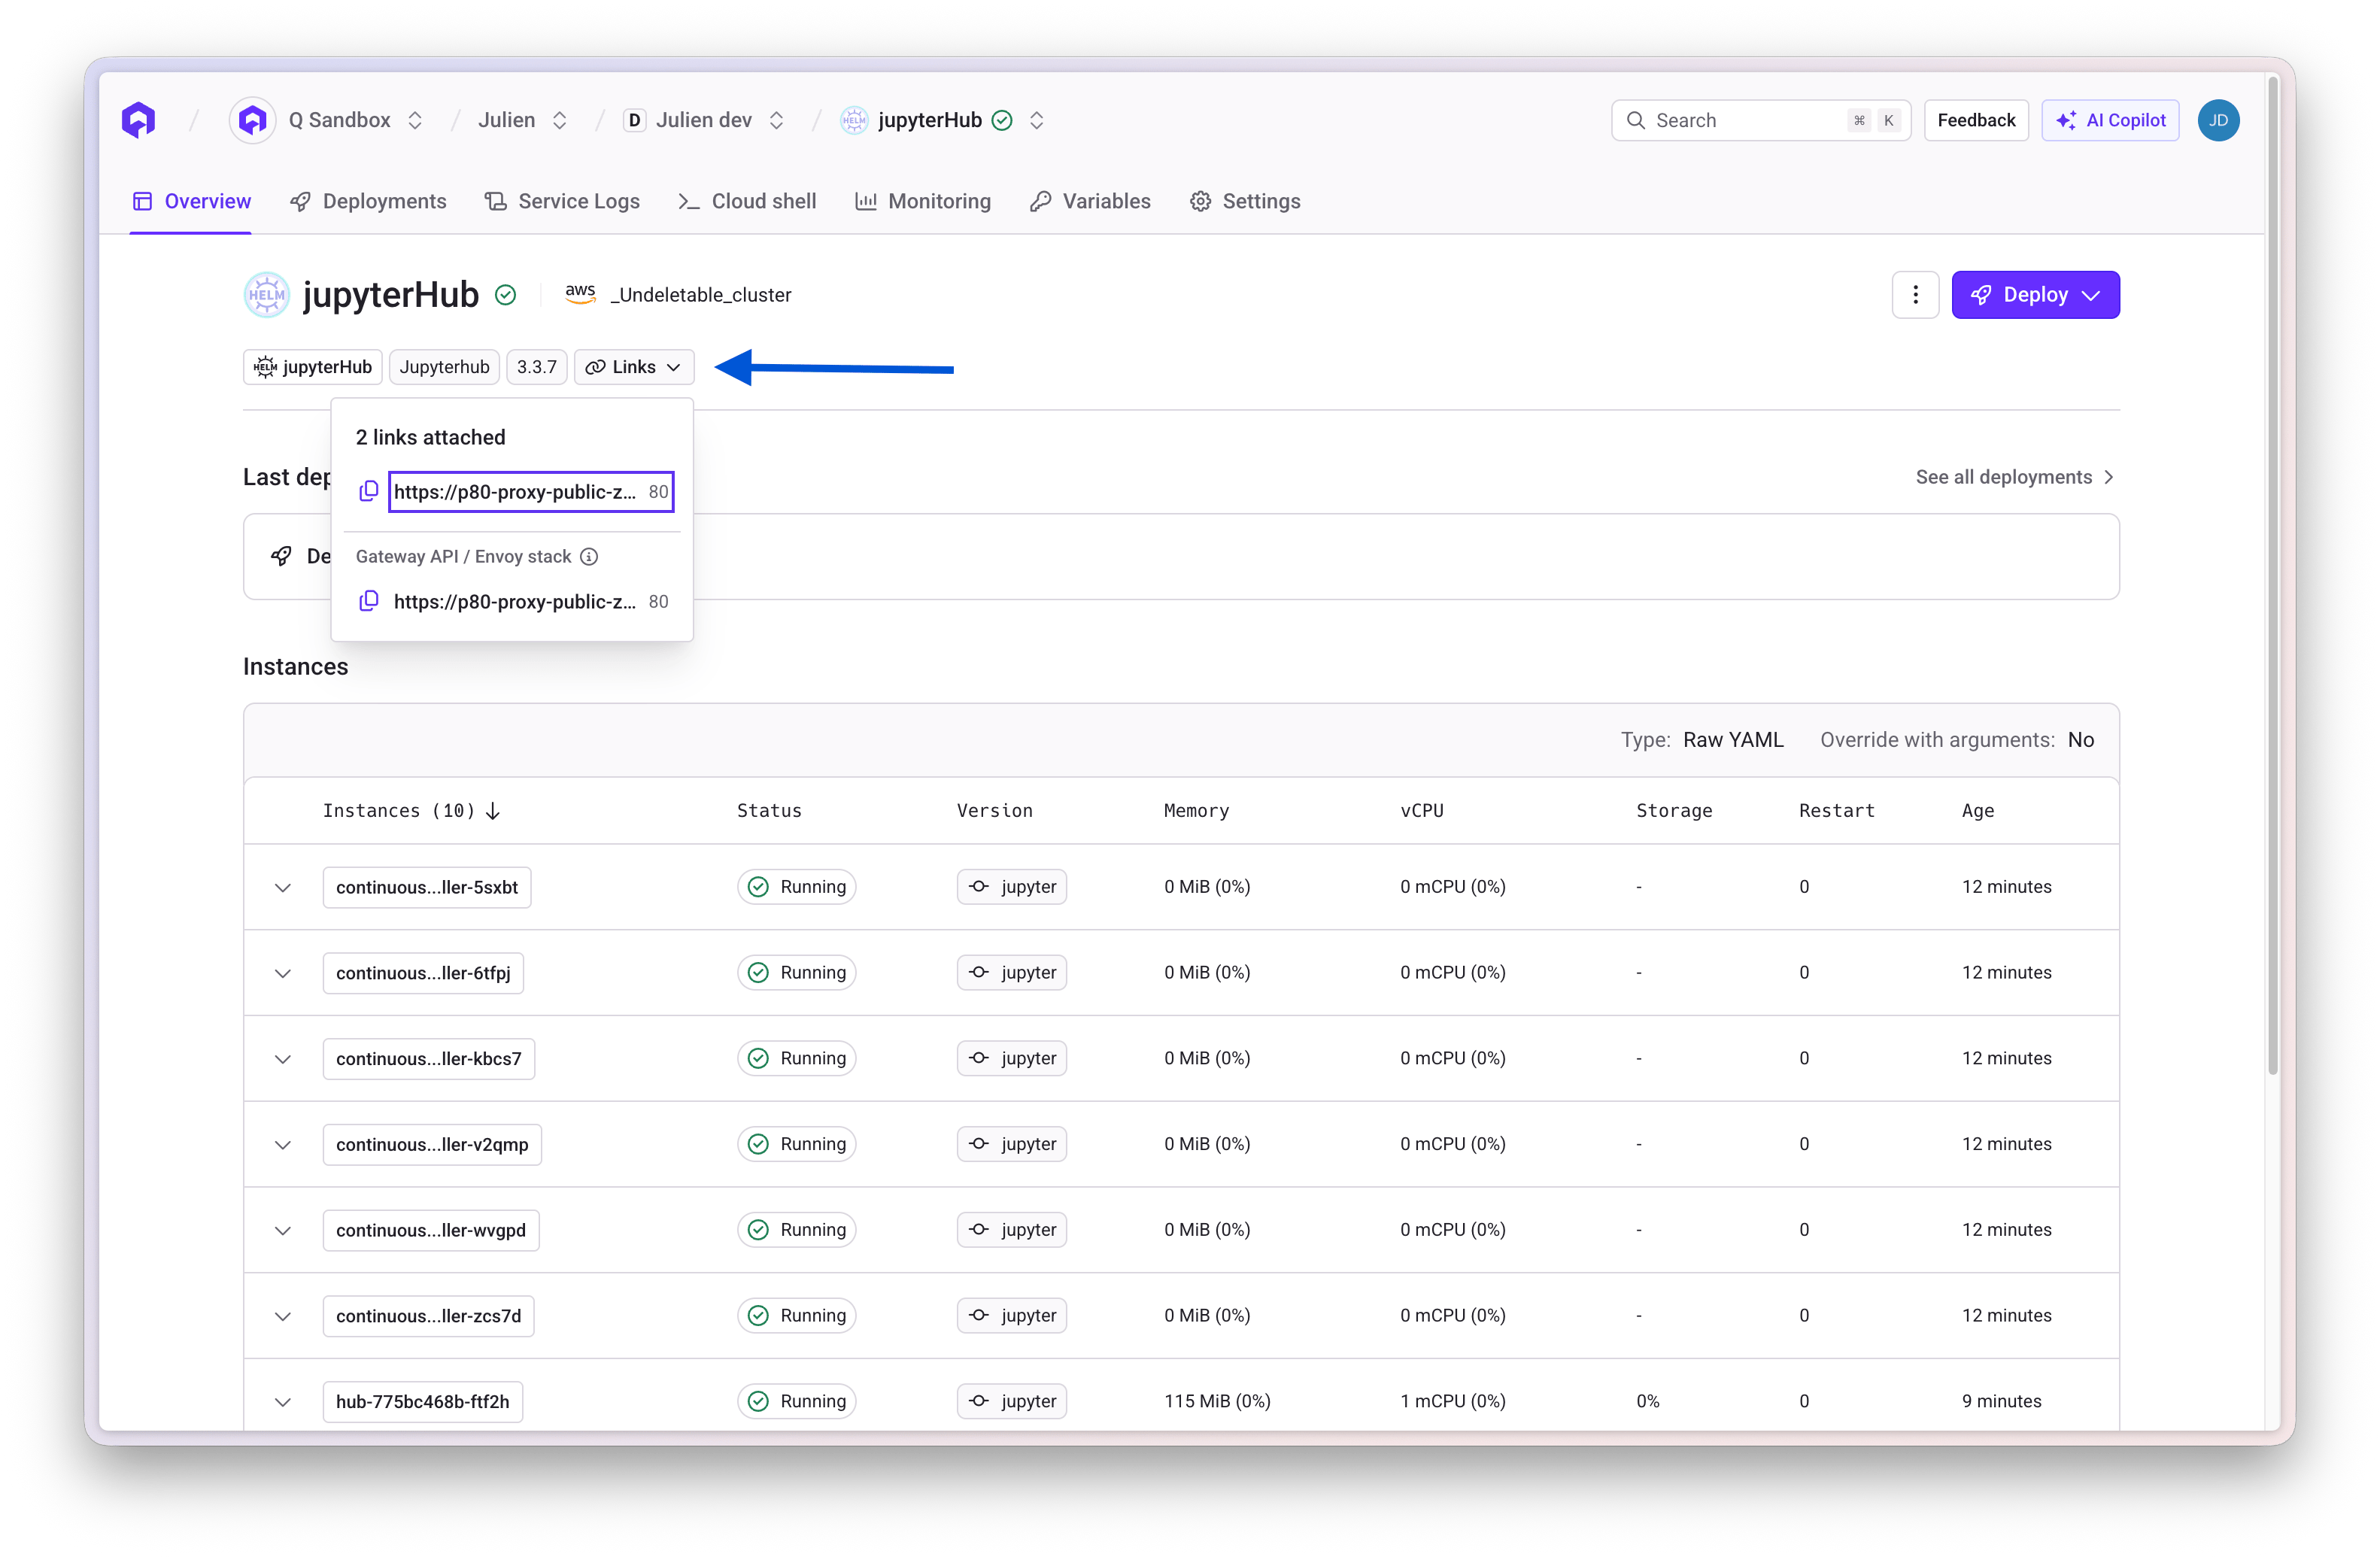
Basic Configuration
Default Authentication
By default, JupyterHub uses a dummy authenticator that accepts any username/password. For production use, configure proper authentication.Customize Your Deployment
This is a basic setup. For advanced configurations, consult:Common Customizations
Configure Authentication
Configure Authentication
Use GitHub OAuth for authentication:Add
YOUR_CLIENT_SECRET as a secret variable in Qovery.Configure Resource Limits
Configure Resource Limits
Set resource limits for user notebooks:
Enable HTTPS
Enable HTTPS
HTTPS is automatically handled by Qovery. Just ensure your port configuration is correct.
Add Custom Docker Image
Add Custom Docker Image
Use a custom notebook image:
Configure Persistent Storage
Configure Persistent Storage
Enable persistent storage for user notebooks:
Accessing User Notebooks
Default Spawner
Users can spawn notebooks with different configurations:- Minimal environment
- Data science stack (pandas, numpy, scipy)
- TensorFlow/PyTorch for machine learning
Custom Profiles
Define multiple profiles for users:Troubleshooting
Deployment stuck or failing
Deployment stuck or failing
- Check pod logs in Qovery Console
- Verify cluster has sufficient resources
- Ensure cluster-wide resources are enabled
- Check for image pull errors
Cannot access JupyterHub
Cannot access JupyterHub
- Verify the service port configuration
- Check that the port name matches
- Ensure HTTPS is properly configured
- Check ingress logs for errors
Users cannot spawn notebooks
Users cannot spawn notebooks
- Check resource quotas on the cluster
- Verify storage provisioner is working
- Review user pod logs
- Check for image pull errors
Notebooks losing data
Notebooks losing data
- Ensure persistent storage is configured
- Verify PVC (PersistentVolumeClaim) is created
- Check storage class is available
- Review volume mount configuration
Scaling JupyterHub
Horizontal Scaling
Scale the hub component:Resource Allocation
Adjust hub resources:Related Documentation

Helm Services
Learn about deploying with Helm
Advanced Settings
Configure service advanced settings
Environment Variables
Manage secrets and variables
Storage Configuration
Configure persistent storage